Build dApp with Nextjs
This is a continuation of the getting started guide. By the end of this guide, you should be able to build a simple Nextjs dApp that interacts with the token faucet smart contracts discussed in the getting started guide
Prerequisites:
- Basic understanding of Typescript and Nextjs
- npm and npx installed on your machine
- Get familiar with the token faucet tutorial project in the getting started guide.
- Install the extension wallet
- Install docker and docker-compose
Create a dApp project using the Nextjs template
npx @alephium/cli@latest init alephium-nextjs-tutorial --template nextjs
This will create a new directory alephium-nextjs-tutorial and
initialize a sample Nextjs project inside that directory.
Launch a local development network
Go to the alephium-nextjs-tutorial/docker directory and run
cd alephium-nextjs-tutorial/docker
docker-compose up -d
This will start both the Alephium full node and the explorer
backend on
devnet. Explorer backend is needed for extension wallet to work.
Now you can compile, test and deploy your token faucet contracts just as described in the getting started guide.
Make sure the contract is deployed before proceeding to the next step.
npx @alephium/cli@latest deploy
Interact with the token faucet with the Nextjs dApp
Go to the project root directory and run
npm install
npm run dev
Open http://localhost:3000 with your browser to see the token faucet application.

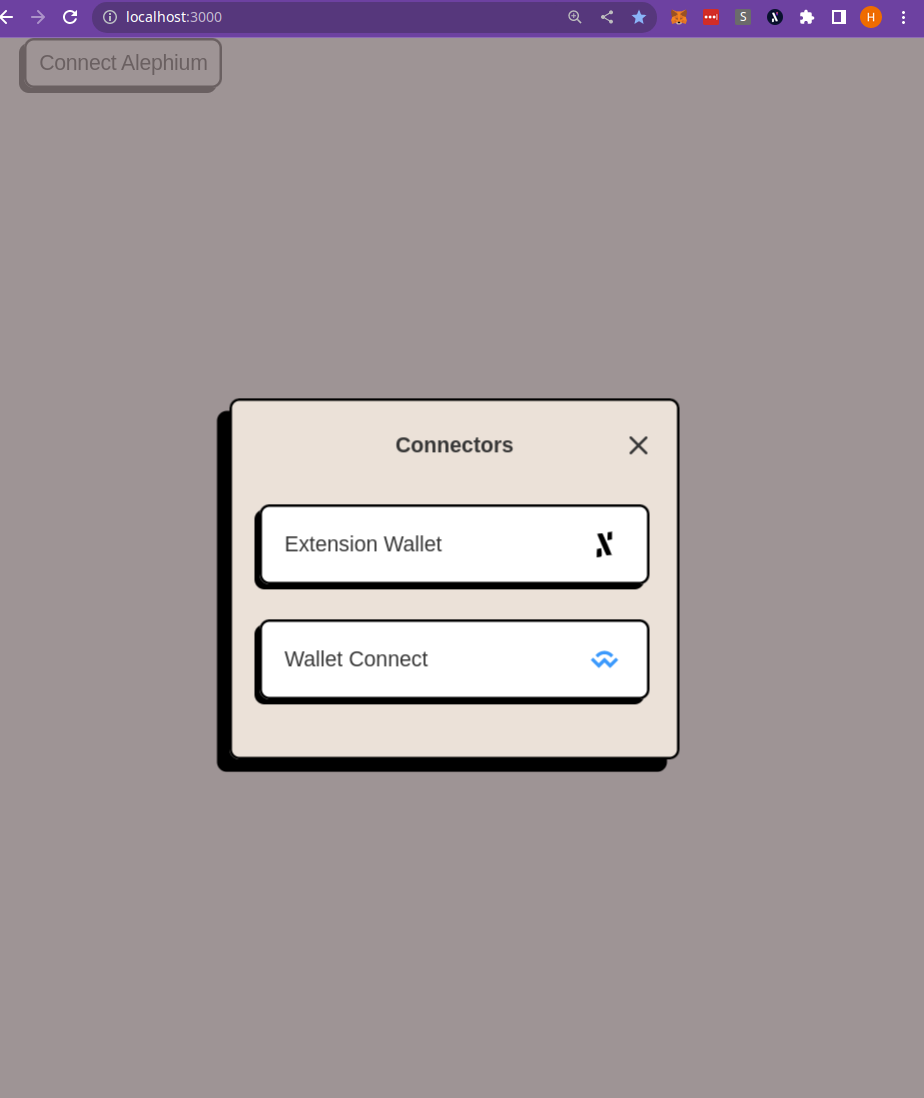
As illustrated above, the token faucet dApp shows a Connect Alephium
button before it is connected with a wallet. Click the button and
choose the Extension Wallet option to open the extension
wallet. WalletConnect will be supported soon.
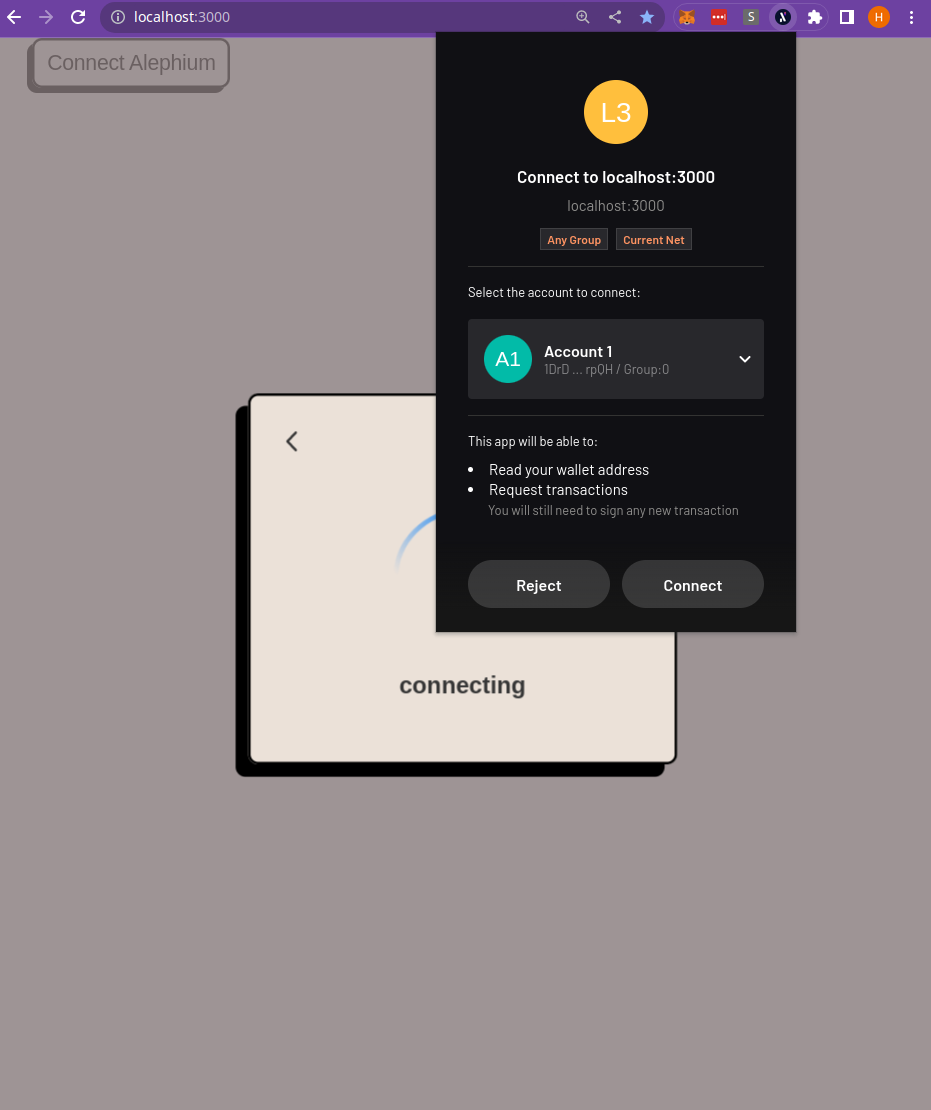
Review the approval screen of the extension wallet and click
Connect, the token faucet dApp will be connected to the extension
wallet.

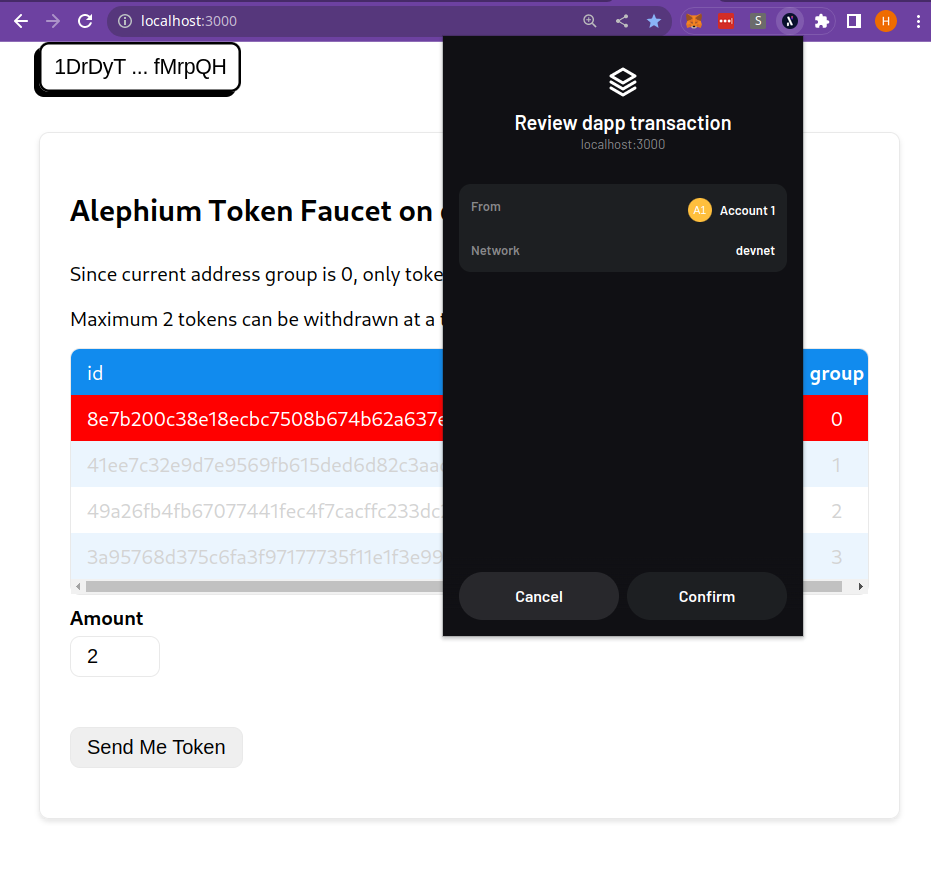
Input the number of tokens to be withdrawn (maximum 2), and click
the Send Me Token button. Review the transaction details and click
Confirm.
Congratulations, you have just transferred some tokens from the token faucet to your account!
Implementation
The goal of the nextjs template project is to demonstrate how to interact with the Alephium blockchain from a Nextjs app.
Authentication can be done in a few lines using the @alephium/web3-react component:
<AlephiumWalletProvider>
  <AlephiumConnectButton />
  // Your logic
</AlephiumWalletProvider>
<AlephiumWalletProvider> creates a react
context and passes it through
the component tree of the application. The context
contains the
SignerProvider
which is an essential piece of information to interact with the
Alephium blockchain, such as signing transaction, etc.
After user is connected to the wallet, we can interact with the Alephium blockchain by using a set of react hooks provided by @alephium/web3-react. For example, getting the current connected wallet, balance and transaction status, etc.
When a user makes a transaction, you can update the user's balance using updateBalanceForTx.
Here is a simple example:
// The useBalance hook returns two values:
// 1. balance: the current balance
// 2. updateBalanceForTx: used to update the balance when the user makes a transaction.
const { balance, updateBalanceForTx } = useBalance()

const withdrawCallback = useCallback(async () => {
  const result = await withdraw(...)
  updateBalanceForTx(result.txId)
}, [updateBalanceForTx])
For more implementation details, please take a look at the code.
Learn More
- Nextjs template is deployed on testnet and available at https://alephium.github.io/nextjs-template
- To learn more about the ecosystem, please visit the overview of ecosystem.
- To learn more about the web3 SDK, please visit the guide of web3 SDK.
- To learn more about Ralph language, please visit the guide of Ralph.