Getting Started
Installation
Alephium extension wallet is available for both Chrome and Firefox.
Create Wallet
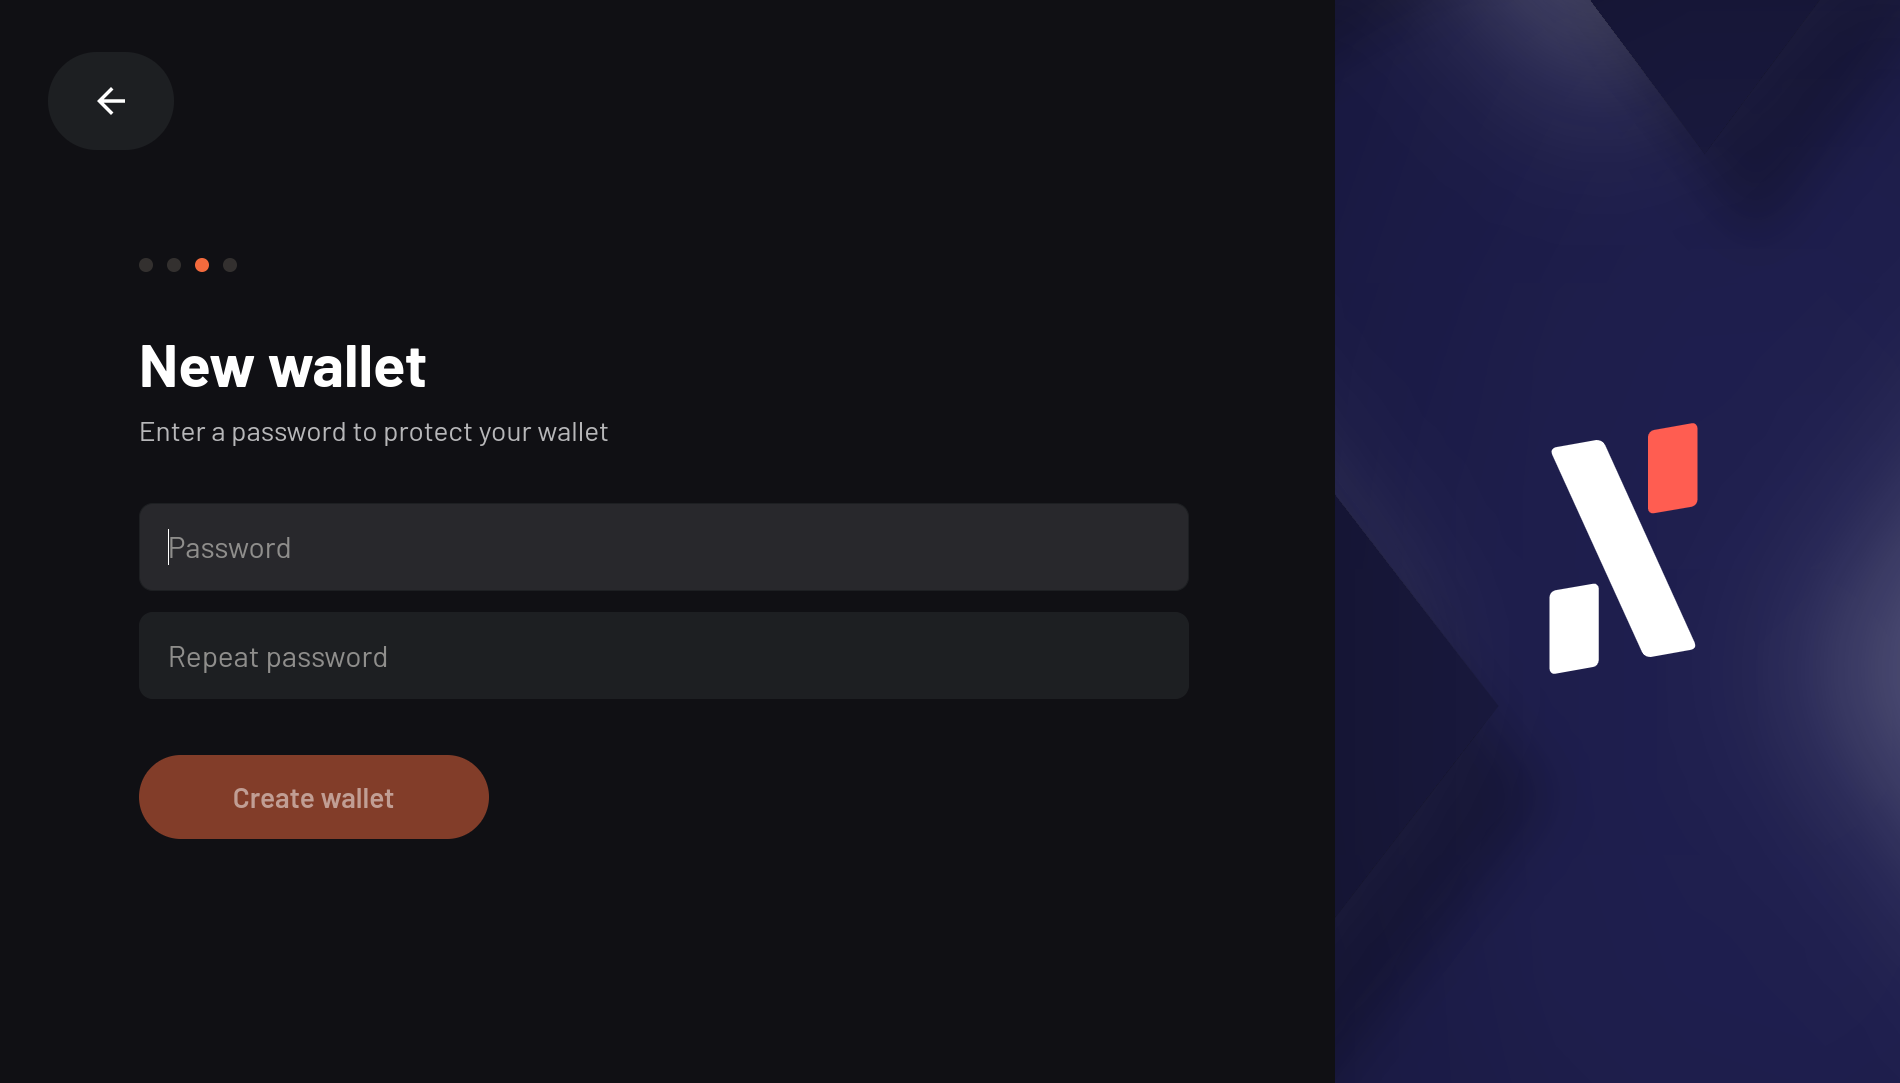
- Click the Alephium extension wallet icon on your browser
- On the landing page, click the
New walletbutton - Enter the password to protect your wallet
- Done! Your wallet is created.
Now your wallet does not have any assets. In the next step, let's transfer some ALPH to this wallet.
Transfer Assets
ALPH Token Faucet
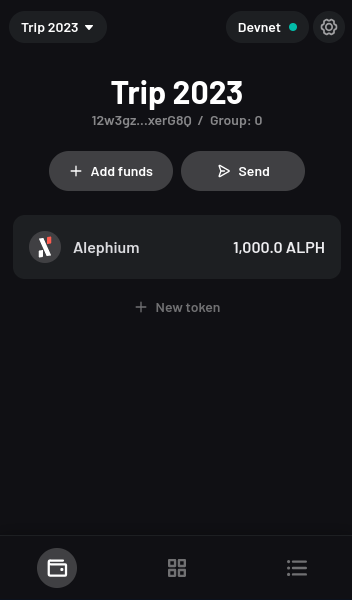
For devnet and testnet, extension wallet has a ALPH token faucet
built-in. You can recieve 1000 ALPH for devnet and 12 ALPH for
testnet respectively everytime.
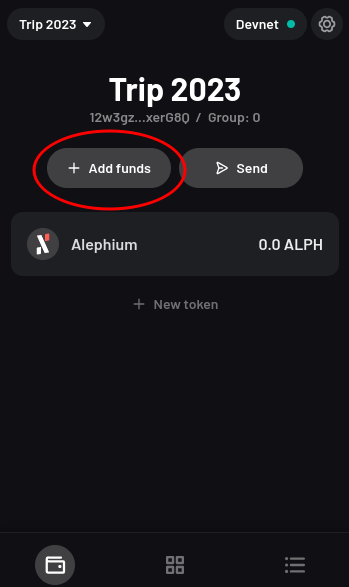
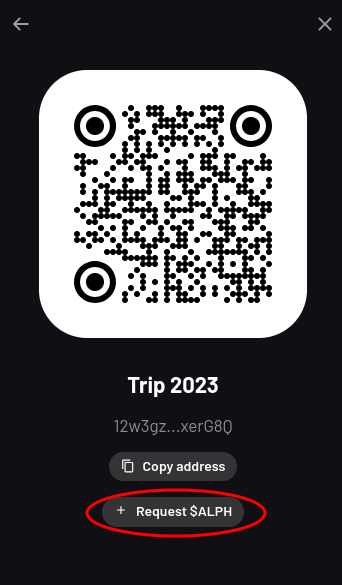
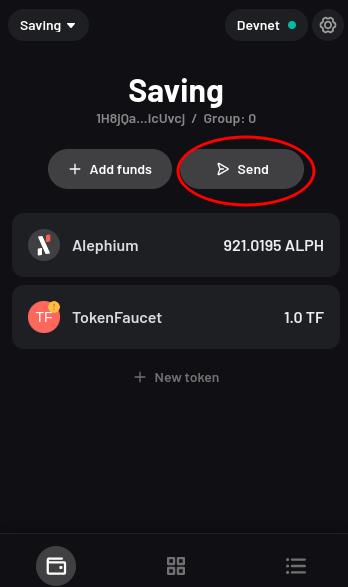
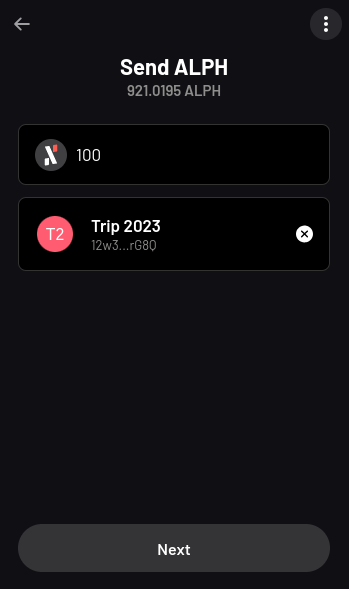
Transfer ALPH
You can also transfer ALPH to your account from another acount:
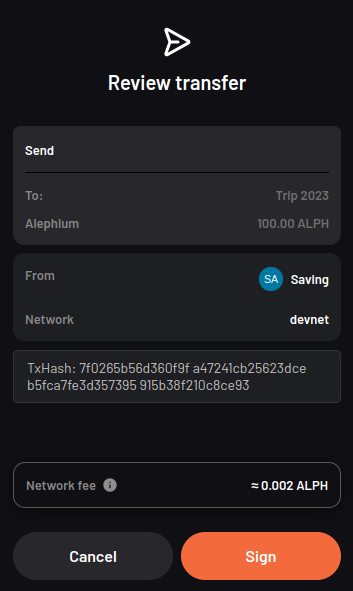
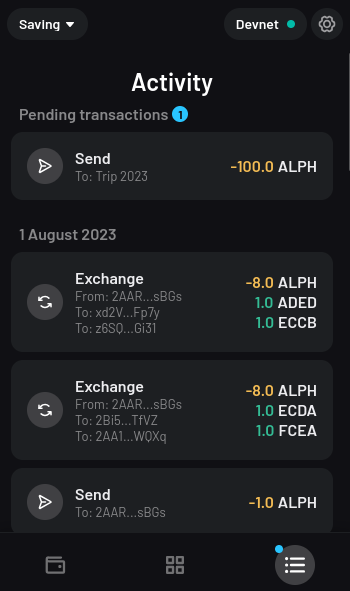
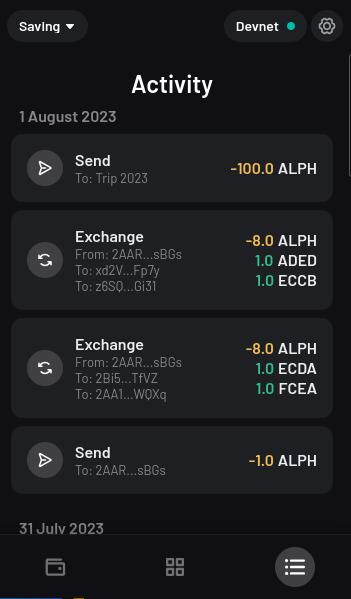
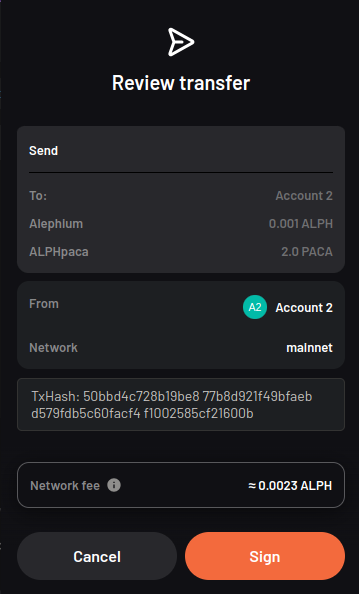
After signing the transfer transaction, you can monitor the
transaction state from the Activity tab. As soon as the transaction
is confirmed, the transferred ALPH amount is reflected on the
receiving account.
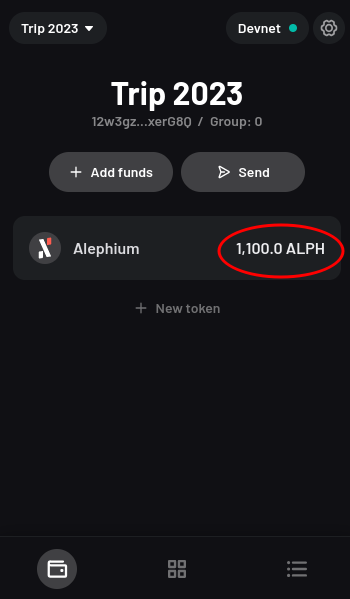
That's it! You have successfully transfered some ALPH.
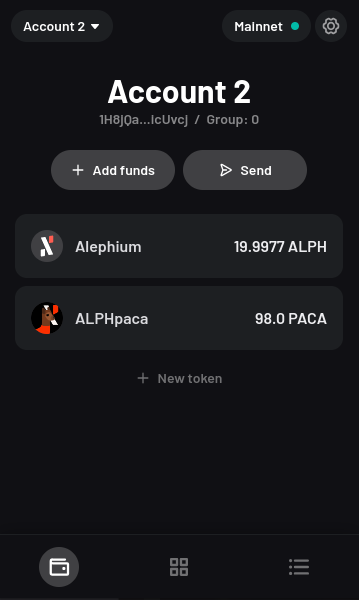
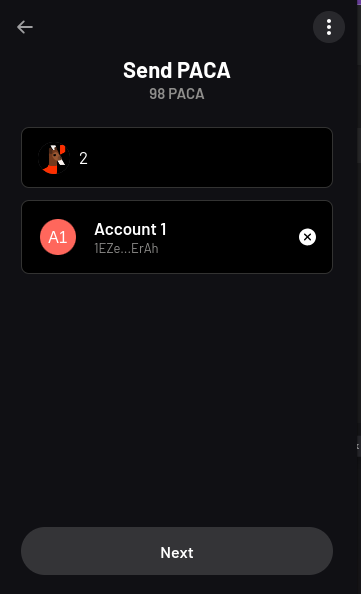
Transfer Tokens
The process of transferring other fungible tokens is basically the
same as transferring the ALPH token:
Please refer to the Fungible Tokens guide for more information about fungible tokens.
NFT Support
Alephium extension wallet also support displaying and transferring NFTs, as shown below:
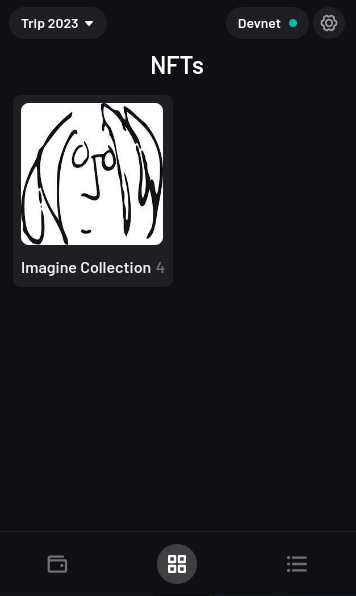


Please refer to the Non-fungible Tokens (NFTs) guide for more information about NFTs.
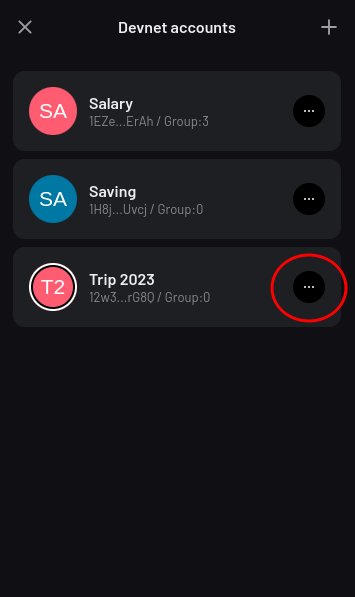
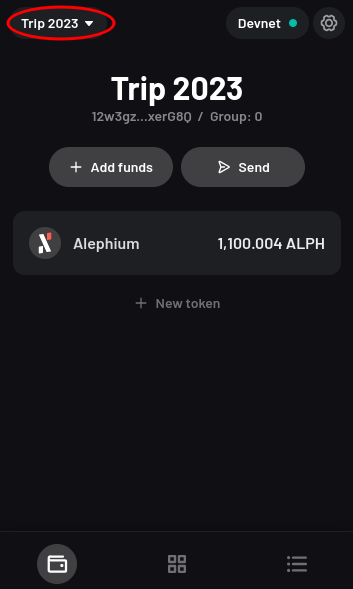
Manage Accounts
Account in the Alephium extension wallet represents a digital container that consists of a public address and its corresponding private key, allowing user to receive, store and transfer assets on the Alephium blockchain.
Alephium extension wallet allows users to manage multiple accounts at
the same time. For example, Alice can have one account for Salary,
one account for Saving and another account for Trip 2023.
Create Account
To add an extra account, follow the steps below:
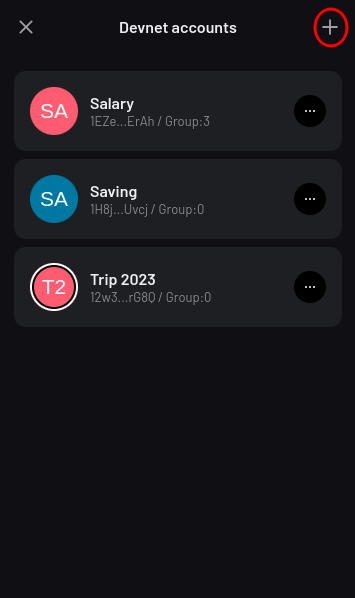
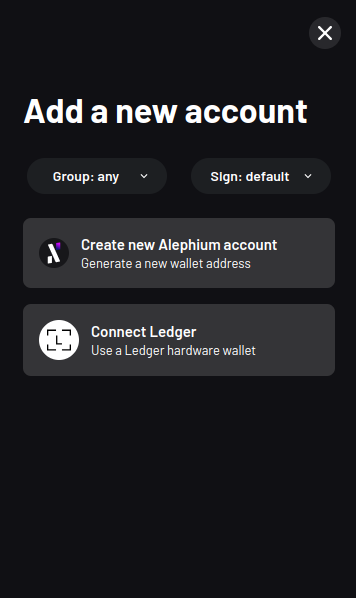
There are couple of options that we can choose before creating an account:
Group: Available options are0,1,2or3. Ifanyis chosen, the group where the created account belongs to will be randomSign: Available options aredefaultandschnorr.defaultrepresents the default Alephium signature type used to e.g. sign Alephium transactoins, whereasschnorrrepresents theBIP340Schnorr signature type which is useful when interacting with protocols like NostrAccount Type: Available options areAlephium Accountor aLedger Account. For more details about the Ledger integration please refer to the Ledger guide.
After choosing the desired options, a new account will be created and ready to be used.
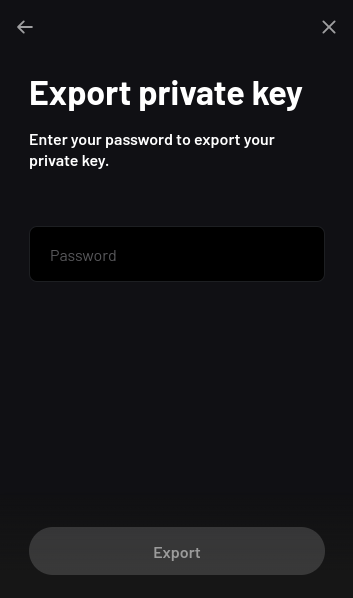
Edit Account
You can also edit the name of an existing account, export its public key and private key, delete an account, etc: